
Supply and Demand Trading in 2026
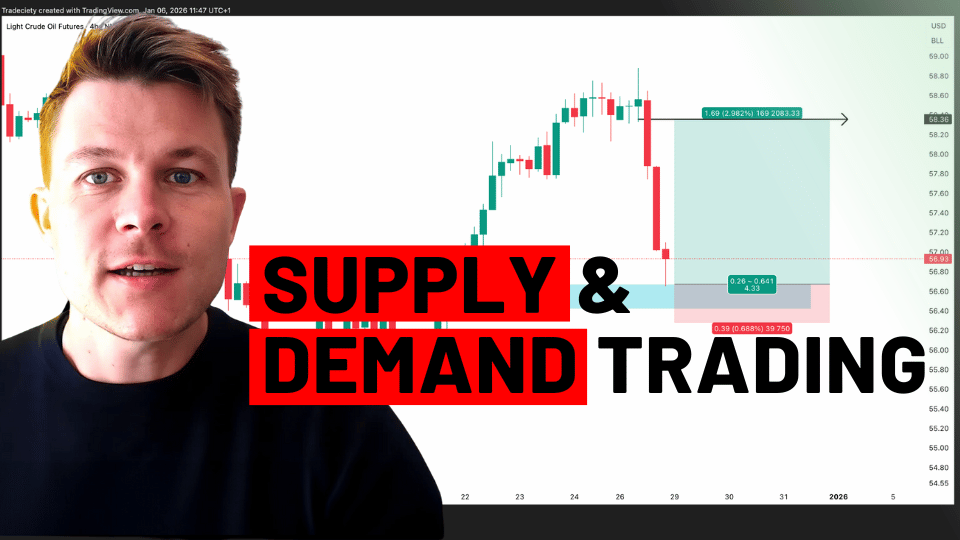
Mastering Supply and Demand Trading Strategy
Supply and Demand is one of the most powerful and time-tested trading methodologies used by professional traders around the world. Unlike many indicator-based strategies, Supply and Demand focuses on understanding why price moves, rather than simply reacting to what has already happened.
For more than a decade, traders have successfully used this approach across the forex, stock, commodity, and cryptocurrency markets. Its effectiveness comes from the fact that it is built on the fundamental principles of price discovery, market psychology, and institutional order flow—concepts that remain relevant regardless of changing market conditions.
Whether markets are driven by human traders or increasingly influenced by algorithmic and AI-powered trading systems, Supply and Demand continues to provide valuable insights into where significant buying and selling activity is likely to occur.
What Is Supply and Demand Trading?
Supply and Demand trading is a price action methodology that identifies areas on a chart where strong buying or selling pressure previously entered the market.
These areas often become important zones where price may react again in the future.
Instead of relying on technical indicators, traders focus on identifying:
- Supply Zones
- Demand Zones
- Market Structure
- Price Action
- Institutional Buying and Selling Activity
The goal is to trade alongside large market participants rather than against them.
What Is a Demand Zone?
A Demand Zone is an area where buying pressure has historically exceeded selling pressure.
When price enters this zone, buyers often become active again, increasing the probability of an upward price movement.
Characteristics of a Strong Demand Zone
- Strong bullish move away from the zone.
- Little time spent consolidating.
- Fresh zone that has not been tested multiple times.
- High trading volume or strong momentum.
Many traders look for buying opportunities when price revisits a quality demand zone.
What Is a Supply Zone?
A Supply Zone is the opposite of a demand zone.
It represents an area where sellers previously entered the market with enough strength to push prices lower.
When price returns to this area, selling pressure may increase again.
Characteristics of a Strong Supply Zone
- Strong bearish move away from the zone.
- Clear rejection from higher prices.
- Fresh and untested zone.
- Strong market imbalance.
Supply zones are commonly used to identify potential selling opportunities.
Why Supply and Demand Works
Supply and Demand strategies are based on the natural relationship between buyers and sellers.
Price moves because one side temporarily becomes stronger than the other.
When buying pressure exceeds selling pressure, prices rise.
When selling pressure exceeds buying pressure, prices fall.
These imbalances often leave behind important price zones that institutional traders may revisit later.
Because this behavior reflects fundamental market mechanics rather than temporary trends, Supply and Demand remains effective across different market conditions.
Key Principles of Supply and Demand Trading
Successful Supply and Demand traders focus on several important principles:
- Identify fresh supply and demand zones.
- Analyze the overall market trend.
- Wait for price to return to key zones.
- Look for confirmation before entering trades.
- Manage risk using proper stop-loss placement.
- Focus on high-quality setups rather than frequent trades.
Patience is often one of the biggest advantages in this trading style.
How to Trade Supply and Demand
A structured Supply and Demand trading process generally follows these steps:
Step 1: Identify the Overall Trend
Determine whether the market is:
- Bullish
- Bearish
- Ranging
Trading with the overall trend often increases the probability of success.
Step 2: Mark Supply and Demand Zones
Look for areas where price made a strong move away from a consolidation.
These zones often represent institutional buying or selling activity.
Step 3: Wait for Price to Return
Avoid chasing the market.
Instead, patiently wait for price to revisit the identified zone.
Many high-probability opportunities occur during these retests.
Step 4: Look for Confirmation
Before entering a trade, confirm the setup using:
- Bullish or bearish candlestick patterns.
- Break of market structure.
- Volume confirmation.
- Price rejection.
- Trend continuation signals.
Confirmation helps reduce false entries.
Step 5: Manage Your Risk
Always protect your capital by:
- Using stop-loss orders.
- Defining your risk before entering.
- Maintaining a healthy risk-to-reward ratio.
- Never risking more than a small percentage of your trading account on a single trade.
Risk management is just as important as finding quality setups.
Common Beginner Mistakes
Many traders misuse Supply and Demand by:
- Drawing too many zones.
- Trading every zone without confirmation.
- Ignoring the higher-timeframe trend.
- Entering trades too early.
- Forgetting proper risk management.
Remember, not every Supply or Demand zone will produce a successful trade.
The highest-quality setups usually occur when multiple factors align.
Why Supply and Demand Remains Effective
Financial markets continue to evolve with advances in algorithmic trading, artificial intelligence, and high-frequency trading.
However, the underlying forces that move markets remain the same:
- Buyers
- Sellers
- Liquidity
- Supply
- Demand
Because Supply and Demand is based on these core market principles, it continues to remain relevant regardless of technological changes.
Even AI-driven trading systems ultimately respond to the same market dynamics of buying and selling pressure.
Learn Through Real Chart Examples
Understanding the theory is only the first step.
The real value comes from applying Supply and Demand concepts to live market charts.
In our latest educational video, we walk through several real trading examples and explain:
- How to identify quality Supply and Demand zones.
- How institutions create market imbalances.
- How to avoid common beginner mistakes.
- How to plan high-probability trade entries.
- How to combine Supply and Demand with proper risk management.
Seeing these concepts applied in real market conditions makes them much easier to understand and implement.
Final Thoughts
Supply and Demand trading is more than just another technical strategy—it is a practical way of understanding how financial markets operate. By focusing on the interaction between buyers and sellers, traders can identify high-probability areas where price is likely to react, helping them make more informed trading decisions.
Like any trading methodology, success doesn't come from simply drawing zones on a chart. It comes from combining Supply and Demand with market structure, patience, disciplined risk management, and consistent practice.
At Profit & Profit Academy, we teach Supply and Demand using real market examples, structured lessons, and practical trading techniques. Our goal is to help traders understand not only where to trade, but also why price reacts the way it does, enabling them to build confidence and consistency in today's ever-changing financial markets.